
Remove Duplicate Photos in OneDrive Effectively
Learn how to delete duplicate photos on OneDrive using Duplicate Files Fixer
How to Find and Delete Duplicate Photos in OneDrive?
OneDrive is a popular cloud storage service by Microsoft that lets users store essential data. People frequently sync their data with their OneDrive accounts, which is especially helpful for Windows users. As a result, there's a good probability that crucial files may accumulate and make data management hard for its users. However, take significant action if you do not want to sort through the mismanaged data. Start by removing duplicate files from OneDrive; a duplicate finding tool is the best solution.
You need to use a duplicate finder tool, as OneDrive does not have a feature to identify duplicate files.
Duplicate Files Fixer is a very useful tool for Windows that can help find and delete duplicate files. It can easily find duplicate images, audio files, video files, documents, and archives. It comes equipped with the auto mark feature, which can reduce the time of manually selecting duplicate files in the scan results. It automatically marks all duplicate files, and you can remove them easily in one go.
Additional features of Duplicate Files Fixer -
- It supports different types of files - audio, video, documents, images, archives.
- Supports externally connected hard drives.
- It can easily find duplicate files in Google Drive and Dropbox.
- Shows how much space you are saving after deleting unwanted duplicate files.
- Its Automark feature comes with a selection priority to customize the markup of duplicate files.
- Allows you to exclude files and folders.
- Deletes empty directories.
- Clears duplicate EML files on your computer.
- Comes with a dedicated Mobile SmartScan.
Steps to find and remove duplicate photos in OneDrive -
Part 1:
Before you move on to removing the duplicate photos using the Duplicate Files Fixer, we need to make sure of a few things. Log into your OneDrive account on your computer if you have not done so already. While the OneDrive folder exists on your computer, you must ensure the sync is turned on.
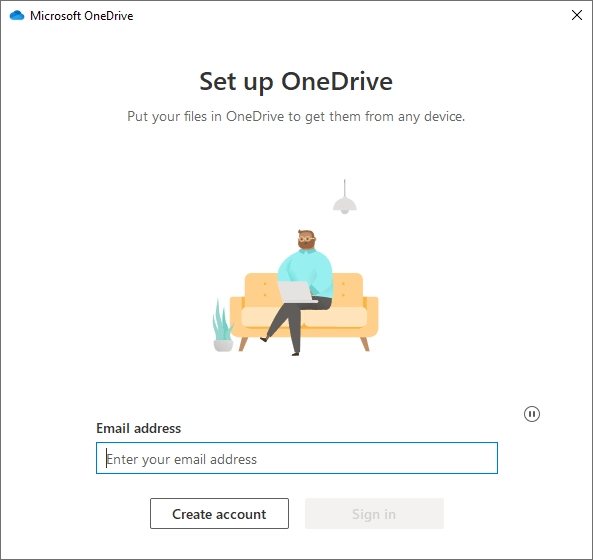
Go to Search, type OneDrive, click on the OneDrive app from the search results.
Sign into your account by giving your account information.
Once you are done setting up your account, you will view the different status markers for the OneDrive files, click Next.
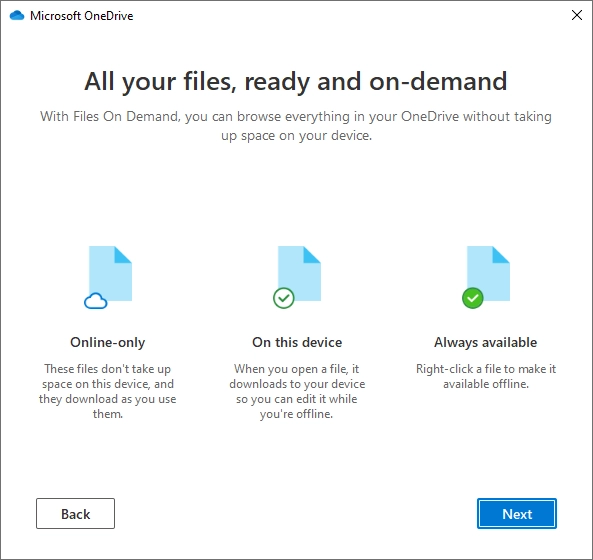
Now, wait for a while as OneDrive syncs all your files to the OneDrive folder on your computer. As you open the OneDrive folder, select the desired folders to scan and change their status to Always keep on this device, which after sync will appear on your computer. This enables the Duplicate Files Fixer to search the duplicate images on OneDrive.
Also Read: How to Delete Duplicate Files on External Hard Drive
Part 2:
Delete duplicate photos on OneDrive Using Duplicate Files Fixer
Once the OneDrive folder is synced on your device, follow these steps to use Duplicate Files Fixer and delete duplicate photos on OneDrive.
Step 1:Download Duplicate Files Fixer.
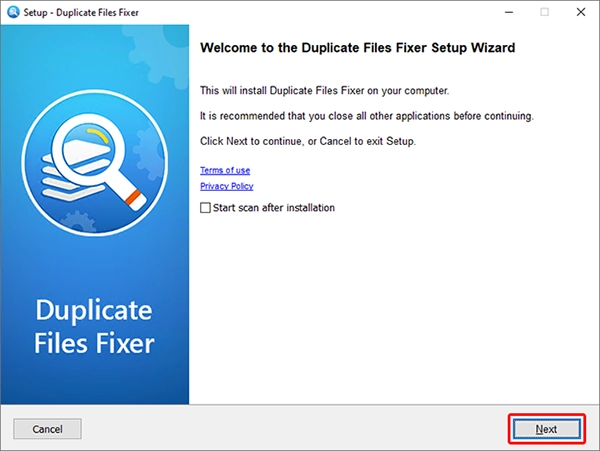
Step 2: Double-click on the setup file and follow the instructions to complete the installation.
Step 3: Click on Activate Now button present on the bottom-left corner and enter the license key to register the product.
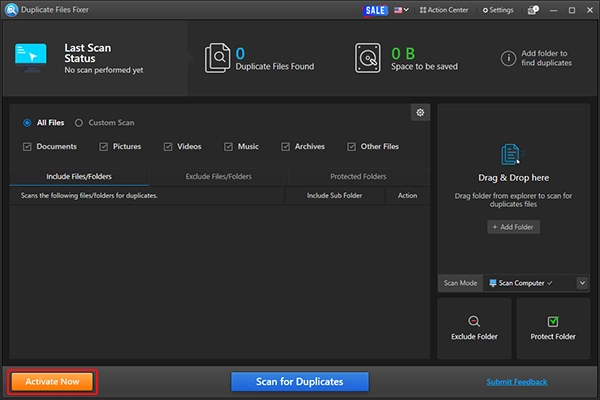
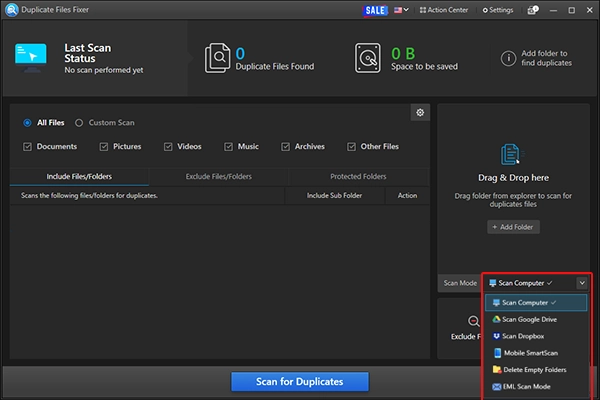
Step 4: Go to the Scan mode and from the drop-down menu and select Scan Computer from given options.
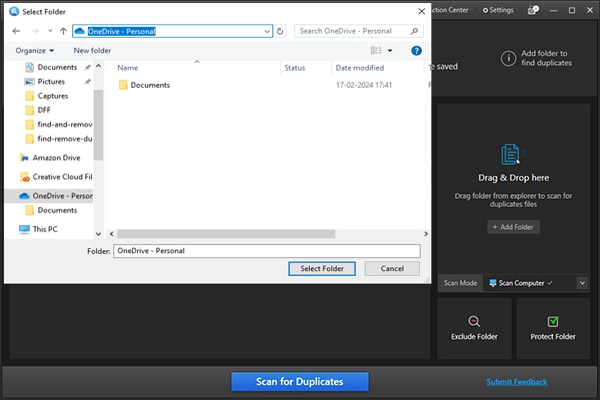
Add the OneDrive folder using the Add Folder button or Drag & Drop files to scan.
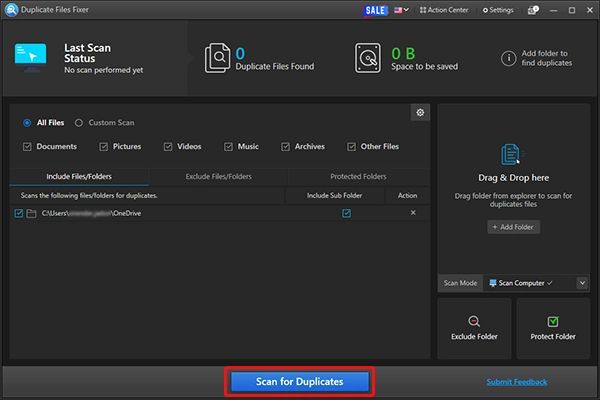
Step 5: Once you are done adding the folder and marking filters, click on Scan for Duplicates.
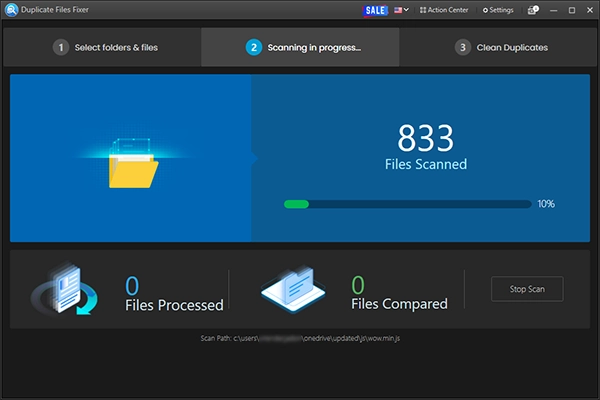
Step 6: Wait for the scan to complete.
Step 7: After the scan is complete, you will get a message showing the total number of duplicate files found and options to manually or automatically select the duplicates from the scan results.
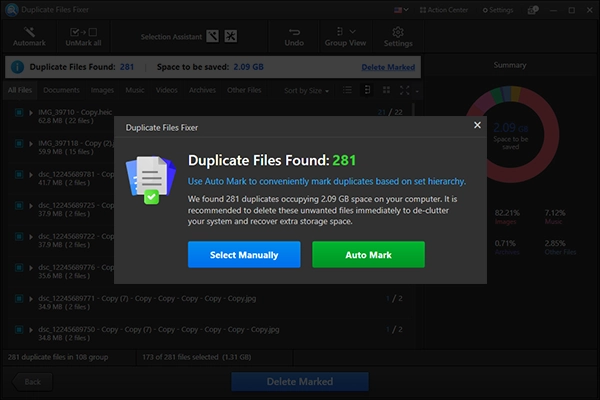
To save you from the hassle of manually sifting through hundreds of photos, we suggest you opt for the Auto Mark option.
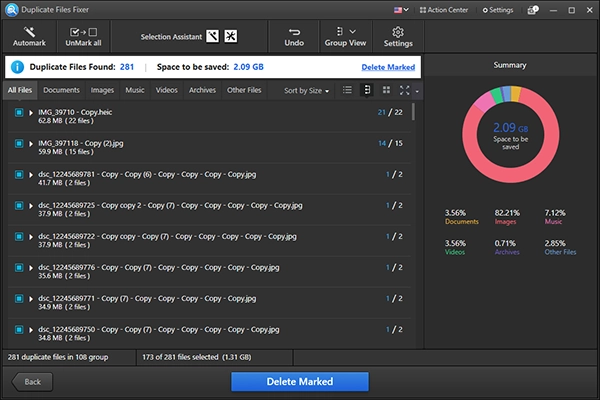
Step 8: Next, view the grouped scan results and the copies of the images that have been marked automatically.
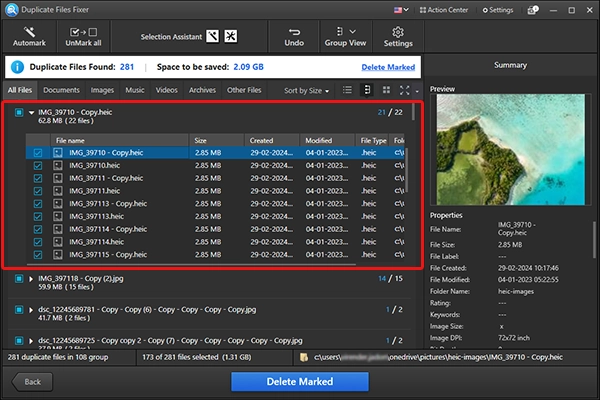
Step 9: Go through the selected images and verify them. Once you are sure, click on the Delete Marked button..
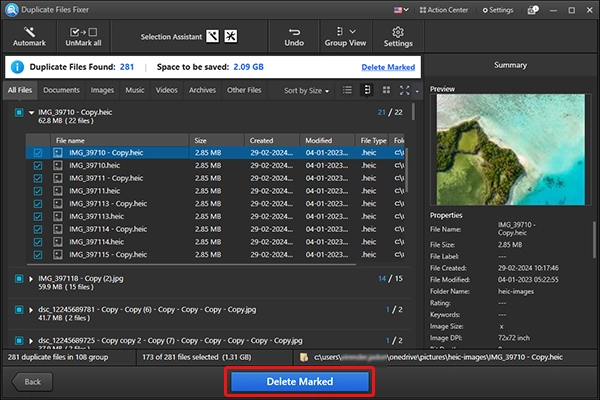
Step 10: Confirm the action by clicking Yes.
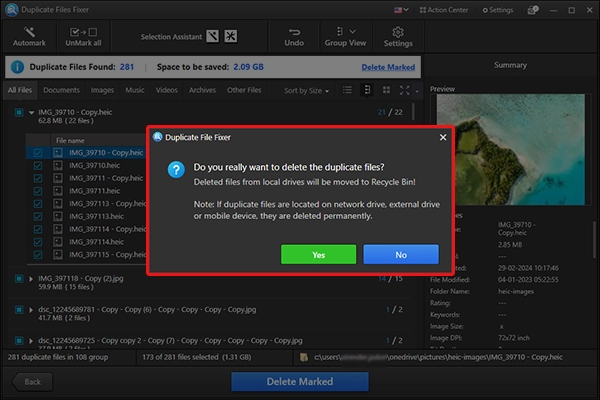
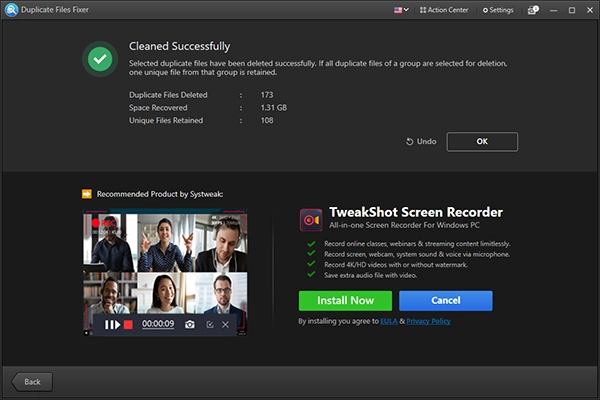
 Duplicate Files Fixer will remove the selected unwanted duplicate files from OneDrive. Also, you will receive a prompt stating that you can no longer access them on the synced devices. However, you can restore them from the OneDrive Recycle Bin within 30 days of removing them.
This way you can easily get rid of the redundant duplicates on OneDrive.
Also Read:How to Find and Remove duplicate files from Windows
FAQs -
How can I delete duplicate photos on OneDrive?
To delete duplicate photos on OneDrive, you need to either manually sift through your files or use a duplicate file finder tool.
What is the best way to delete duplicates in OneDrive?
Using a duplicate file finder such as Duplicate Files Fixer is the best way to delete duplicates in OneDrive. As it comes with multiple useful features and a robust scan engine, which will help you locate exact copies and duplicate files present on your cloud storage.
Is there a method to find duplicate files in OneDrive?
Yes, there are two ways to find duplicate files in OneDrive. One is manual and other is automatic using Duplicate Files Fixer. You can find the duplicate files present on your OneDrive.
Why are there duplicate OneDrive folders in Windows 10 and 11, and how can I remove them?
If you witness duplicate OneDrive folders in File Explorer, there are chances you can have multiple OneDrive accounts or the system upgrade created a new folder, or you might have saved a copied folder.