Duplicate Files Fixer
  • Home
    • Duplicate File Finder Duplicate File Finder
    • Duplicate Photo Finder Duplicate Photo Finder
    • Duplicate MP3 Finder Duplicate MP3 Finder
    • Duplicate Video Finder Duplicate Video Finder
    • Delete Empty Folders Delete Empty Folders
    • For Windows For Windows
    • For Mac For Mac
    • For Android For Android
  • •   Delete Duplicate Files From Google Drive •   Remove Duplicate Files From Windows •   Delete Duplicate Files From Mac •   Remove Duplicate Files From Android •   Delete duplicates on external hard drive •   Remove duplicates on Amazon Photos •   Remove Duplicate Photos in OneDrive
  • User Guide
  • Support
  • Buy Now
Duplicate Files Fixer
Duplicate Files Fixer Download Now
  • Introduction
    • Key Features
  • Installation
    • Download and Installation
    • Using Trial Version
    • Registering the Product
  • Getting Started
    • Launching Duplicate Files Fixer
    • User Interface Overview
    • Scanning
    • Duplicate File Select and Cleaning Options
  • Using Duplicate Files Fixer
    • Removing Duplicates from PC
    • Removing Specific Duplicate Files from PC
    • Finding and Deleting Duplicate Files from Google Drive
    • Removing Duplicates from Dropbox
    • Removing Empty Folder
    • Removing Duplicates from Smartphone
    • Removing Duplicate EML Files
  • General FAQs

Home / User Guide / Removing Duplicates from Dropbox

Removing Duplicates from Dropbox

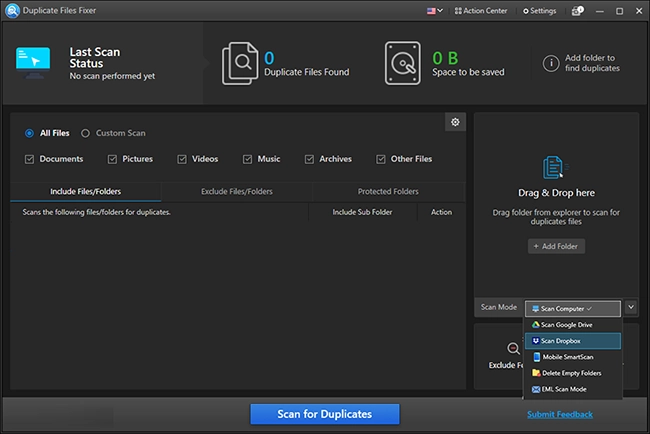
1. Launch Duplicate Files Fixer.

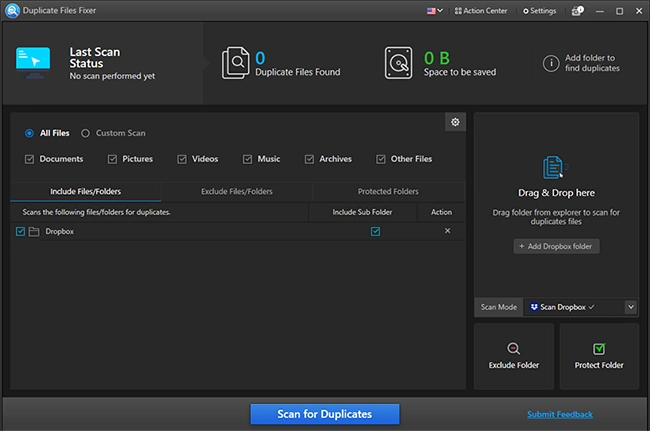
2. Change the Scan Mode to Dropbox.

Change the Scan Mode to Dropbox

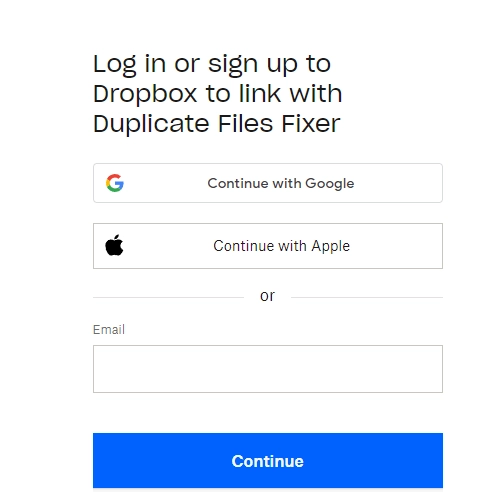
3. If you have not already signed in, log in to your Dropbox account. If logged in, select the account to scan for duplicate data.

Select the account to scan for duplicate data

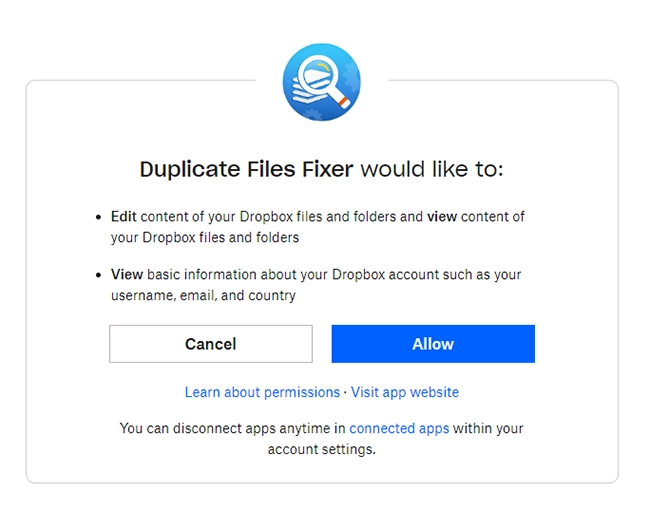
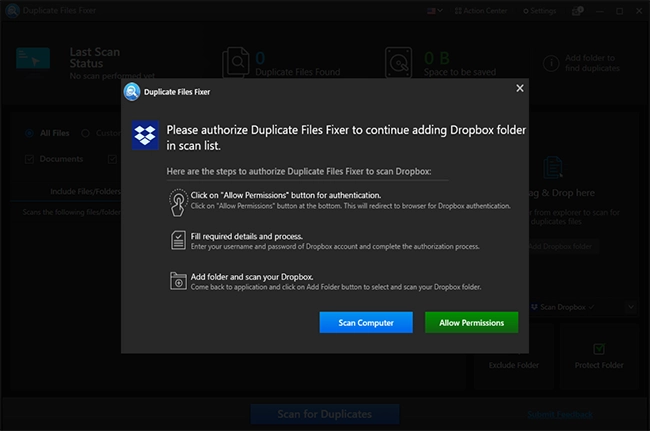
4. Grant permission.

Grant permission

5. Reconfirm your choice.

Reconfirm your choice

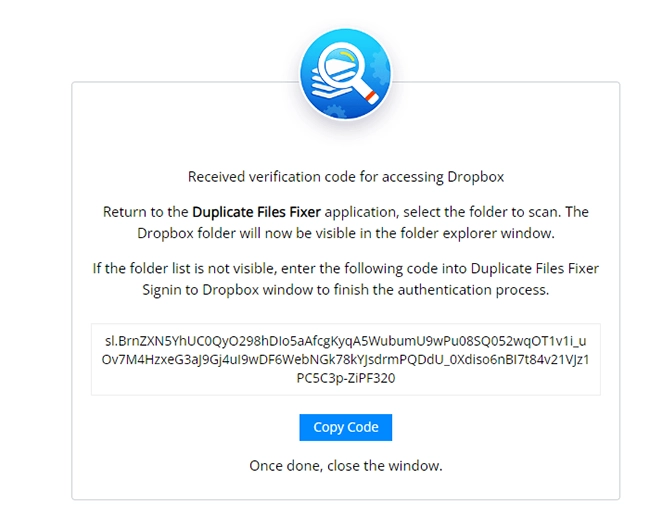
6. You will now see a new window with the message “Received verification code for accessing Dropbox.” Click Copy Code and go back to Duplicate Files Fixer.

Copy Code

7. Click Add Dropbox Folder.

Add Dropbox Folder

8. Click the Allow Permissions button.

Allow Permissions

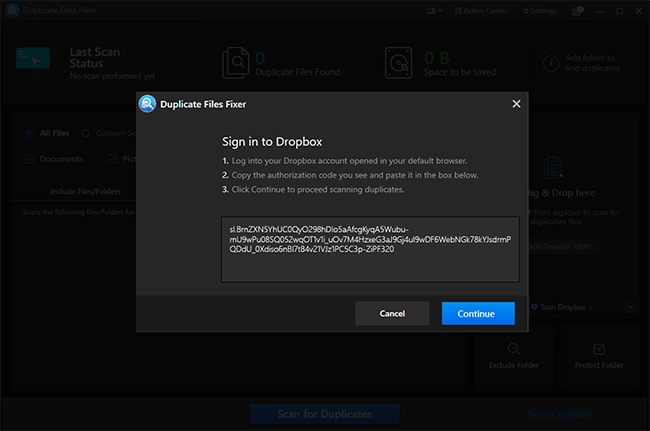
9. Paste the copied code in the window and click Continue.

Paste the copied code

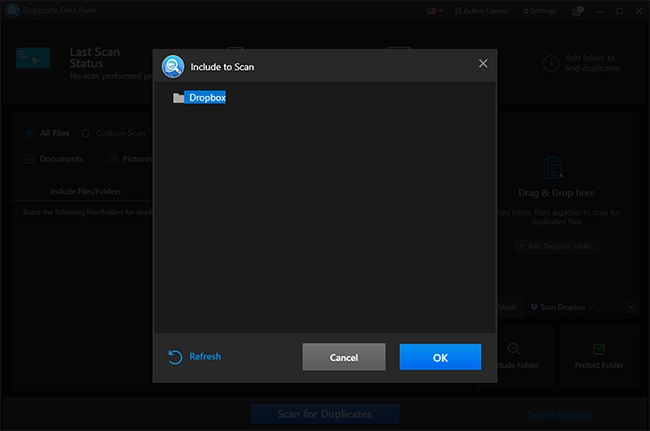
10. Select the folder to scan > OK from the pop-up window.

Select the folder to scan

11. This will add the folder to the Duplicate Files Fixer.

This will add the folder

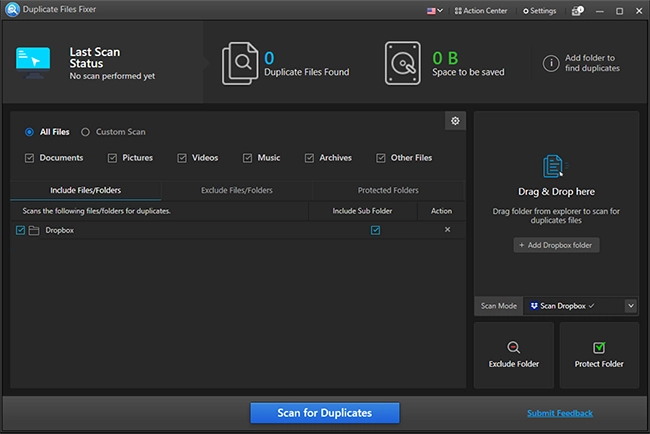
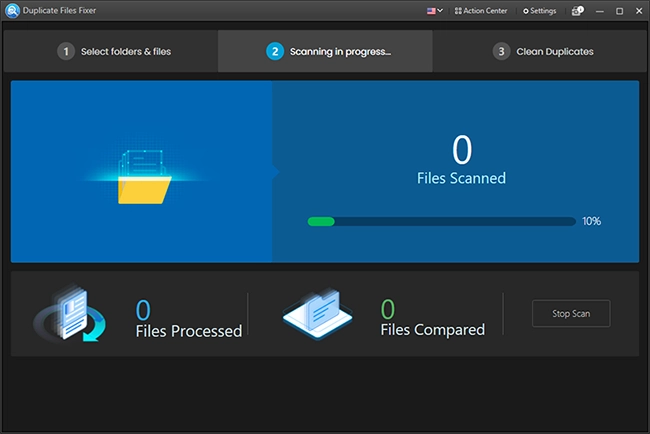
12. To perform the scan, click Scan for Duplicates and wait for the duplicate file finder to finish the action.

Scan for Duplicates

13. When done, you will get two options – Select Manually and Auto Mark. Choose them as per your choice.

Select Manually and Auto Mark

14. If you select AutoMark, the duplicate files will be automatically selected, leaving one in each group unmarked.

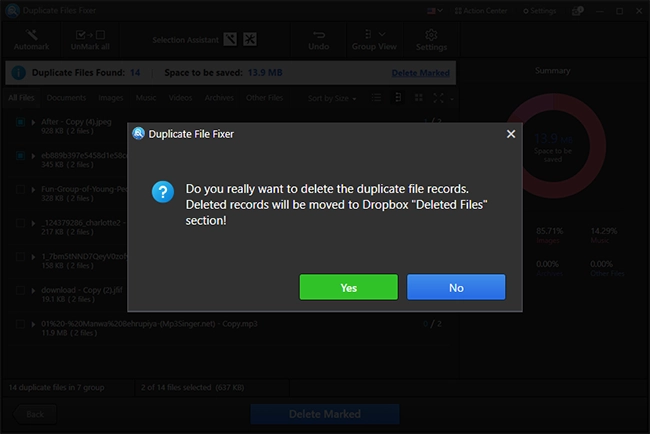
15. Preview selected duplicates, and click Delete Marked > Yes, to confirm the action.

Preview selected duplicates

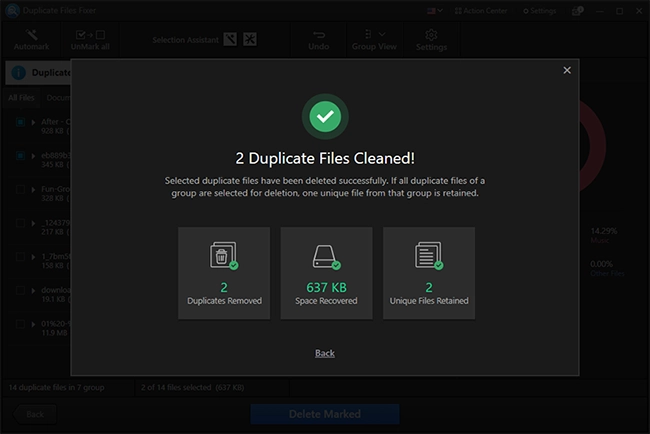
16. Let the process finish.

Let the process finish.

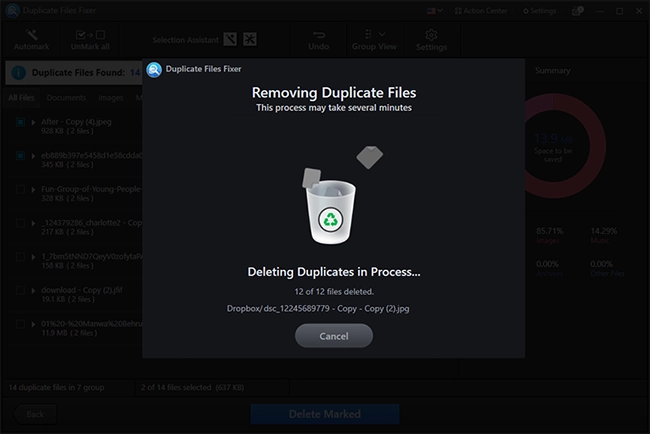
Note:Duplicate Files Fixer will default move deleted duplicates to Dropbox’s Deleted Files section.

17. Finally, a summary of deleted duplicate files will be shown.

Summary of deleted duplicate files

Site Links

  • Home
  • About
  • Support
  • Terms of Use
  • Privacy Policy
  • Refund Policy
  • EULA
  • Uninstall Instructions

Features

  • Duplicate File Finder
  • Duplicate Photo Finder
  • Duplicate MP3 Finder
  • Duplicate Video Finder
  • Delete Empty Folders

Get Duplicate Files Fixer

  • For Windows
  • For Mac
  • For Android

Follow Us

  • Facebook to follow DFFFacebook
  • Tiwtter to follow DFFTwitter
  • linkedin to follow DFFLinkedin
Copyright © Systweak Software All rights reserved.